
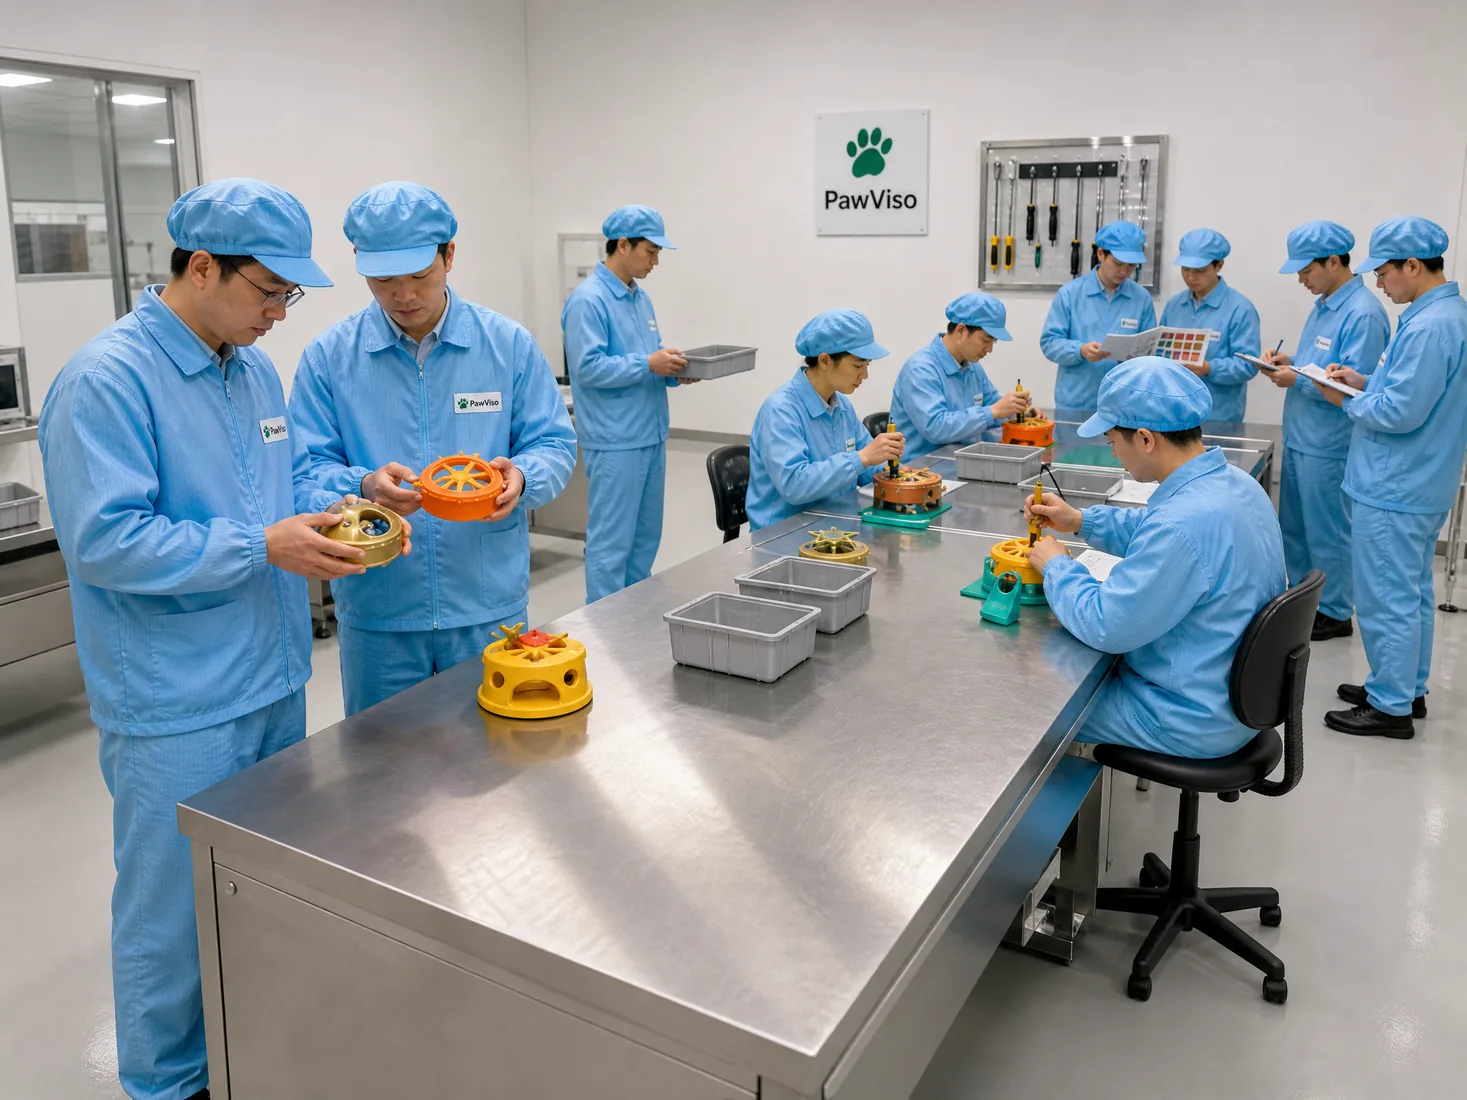
Getting the pet product logo application right is not only about how a mark looks on a toy, bowl, leash, bed or feeder. It is a chain of decisions from brand intent to artwork handoff, substrate realities, sample sign-offs, pack-out protection and reorder control. In this guide, we share a practical, factory-floor perspective to help B2B buyers align brand vision with methods like printing, embossing, woven labels and hangtags—then lock them into quotes, samples and production records that hold up through reorders.
You will find direct recommendations first, followed by the evidence, tradeoffs and next steps. Each module is a buyer decision that can be implemented with your supplier and procurement partner: what to put where, how to specify it, what to approve, how to package it, and how to keep it consistent. Use the tables for quick specification and control planning, and bring your internal brand and compliance stakeholders in early where barcode master data, claims and market rules apply.
Module 1 — Define your brand objective and on-product priority
Decide the role of your logo on the product before you pick a method. State clearly whether the on-product mark is meant to be a hero (primary brand identifier), a subtle maker’s mark, or a discreet traceable code. Then assign a secondary role for packaging and removable hangtags. The fastest way to reach a good decision is to fix a visibility hierarchy: primary mark on the product, supporting brand on packaging, and a removable element for promotions or care instructions.
Once the roles are clear, connect them to placement and size ranges. For example, a hero mark might target a 15–30 mm height on a feeder rim, while a subtle mark might target 6–10 mm on a molded underside. Record the intent with minimum legibility rules (min line weight, min x-height) so the choice of method—print, emboss, woven, laser—can be validated against what end customers will actually see. Put this hierarchy at the top of your request for quotation (RFQ) and artwork brief so every involved factory team, from tooling to printing, understands what matters most.
Module 2 — Select the primary application method: print, emboss/deboss, label or hangtag
Pick one primary method for the on-product brand based on your brand objective, substrate and cost-time reality: 1) printing (pad, screen, digital, heat transfer), 2) emboss/deboss (mold or die), 3) applied label/tag (woven, silicone, TPU, leatherette, stitched), or 4) removable hangtag only. Start with the simplest method that meets visibility and longevity expectations, then add secondary methods only if your range architecture needs it.
Here’s a compact way to compare method fit at a range level. Use it to steer early conversations and vendor quotes.
| Method (primary) | Typical branding role | Relative cost tier | Lead-time impact | Notes for pet SKUs |
|---|---|---|---|---|
| Pad/screen print | Hero or subtle | Low–Medium | Low | Good for curved plastics/metals; watch abrasion and detergents |
| Heat transfer | Hero | Medium | Medium | Crisp edges on textiles/soft parts; needs bonding temperature window |
| Digital print (UV) | Hero (complex art) | Medium–High | Medium | Full color on flat/treated surfaces; check adhesion on slick finishes |
| Emboss/deboss | Subtle/hero (premium) | Medium (plus tooling) | Medium–High | Permanent; requires mold or die change; best on molded or leatherette |
| Laser etch | Subtle | Medium | Low–Medium | Contrast varies by material; zero-ink consumables |
| Woven/stitched label | Hero/subtle | Medium | Medium | Great on beds, collars, apparel; must define stitch lines |
| TPU/silicone badge | Hero | Medium–High | Medium | Tactile; confirm bonding method and edge sealing |
| Hangtag only | Promo/supporting | Low | Low | Removable; pair with on-product traceability if needed |
The tradeoff is often between permanence and flexibility. Embossing and laser are durable but lock your art into tooling or material responses; printed or applied labels are flexible and colorful but rely on inks, adhesives or stitches that must be matched to the substrate and finish. When in doubt, pilot two methods in the first sample round to judge realism under your expected handling and washing routines, and choose the one that better fits your acceptance criteria without overcomplicating the supply chain.
Module 3 — Match method to substrate and finish realities
Confirm the substrate and finish before locking the pet product logo application. Plastics like PP, PE, ABS, TPE/TPR, silicone, and nylon each bond differently with inks and adhesives. Metals (stainless, aluminum) and coated metals need surface preparation or specific ink systems; textiles (polyester, cotton, blends, faux leather, felt) have heat and stitch constraints. Finishing layers—soft touch, matte, high gloss, anodizing, flocking, water repellents—change how prints and adhesives perform.
Buyers should ask for a concise substrate/finish declaration and any factory-preferred ink/adhesive systems for it. For example, PP and PE often need pre-treatment or specific inks; silicone may favor laser or molded-in marks; faux leather may accept deboss or stitched badges well; soft-touch coatings can complicate print adhesion. If the finish is undecided, sample your art on bare and finished surfaces to detect fit gaps early. Set a simple requirement: “Logo method must remain legible and attached after X defined handling/wiping cycles representative of our product use”—then make the factory propose a method and sample that meets your internal standard without overstating product performance beyond your verified test plan.
Next, align heat windows, solvent exposure and mechanical risks. Heat transfers on fabric need compatible dwell time and temperature; glue-on badges on TPR must avoid migration; pad print on stainless should withstand expected dishwashing or wiping if that matters to your customer value proposition. Share your cleaning and handling assumptions (for example, “wiped with mild detergent weekly,” “machine-washed cover, air-dried”) and let the supplier propose method/material pairings to trial. Select the method that passes your specific checks, not a generic promise.
Module 4 — Finalize artwork, color and tolerances
Deliver artwork in editable vector format with clear ownership of fonts and colors. Start with AI, EPS or PDF with outlined fonts and linked Pantone references; include raster assets only when images or gradients are critical and you have a printing route that supports them. Provide minimum line weights and knockout sizes, and state any metallics or special effects as separate layers. Define whether the logo can be single-color for small formats or must maintain multi-color fidelity.
Color control is a common pitfall. For on-product marks, spot colors (Pantone Solid Coated/Uncoated or a defined master drawdown) are easier to manage than CMYK builds. If your brand has digital-only values, benchmark them against physical drawdowns on target substrates. For textiles, specify thread brand/codes or fabric lab dips; for molded-in colors, link logo color to masterbatch codes; for printed marks, request ink drawdowns on your finish. Record acceptable delta color ranges and a priority order: “Hue match over brightness, or vice versa” to help QC decisions. When a substrate shifts color or sheen, note whether the logo should adapt (e.g., invert to white) or remain constant.
Finally, set tolerances that production can execute. Define allowable size variance (e.g., ±0.5 mm on small marks), alignment tolerances relative to edges or centerlines, and placement zones (distance to rim/seam). Include artwork layers showing: 1) safe area/clearspace, 2) cut/sew or mold edges, 3) stitch paths if labels are used, and 4) callouts for any protective coatings over the logo. All of these should be in your RFQ pack so quotations reflect actual execution, not assumptions.
Module 5 — Plan samples and approval gates
Use staged samples to de-risk the pet product logo application before committing to bulk. At minimum, deploy three checkpoints: 1) material swatches or coupon tests with the actual method, 2) pre-production sample (PPS) on finished goods from the production line setup, and 3) a sealed golden sample with an approved standard for future reorders.
Structure sample gates like this:
| Gate | Purpose | Buyer action | Supplier input | Record to keep |
|---|---|---|---|---|
| Method-on-substrate coupon | Validate adhesion/legibility on actual finish | Approve/reject method; specify changes | Coupons showing 2–3 method options | Photos, notes, approved coupon |
| First appearance sample | Check size, color, placement | Comment and annotate | Assembled sample with your artwork | Marked-up photos, revised art |
| PPS (pre-production) | Confirm line-ready execution and fixtures | Sign/hold with clear conditions | PPS from production setup | Sealed golden sample set |
| Start-up inspection | Catch early run variance | Approve or adjust | First-article photos/measurements | First-article report |
| Final inspection sample | Verify against golden sample | Accept/rework | Random units + report | Signed acceptance record |
When resources are tight, combine gates 1 and 2 by printing or applying the logo on a near-final prototype, but do not skip PPS if you care about reorder consistency. A coupon can pass while line execution fails due to fixture differences, operator factors or placement jigs. Keep the buyer action short and decisive: approve, approve with notes, or return with a single list of changes. Challenge the supplier to document exact inks, temperatures, stitch settings or mold cavity IDs used on the approved sample so those become part of the control plan.
Module 6 — Decide packaging branding, barcodes and mandatory marks
Separate your on-product branding from packaging and removable elements. Use packaging real estate to handle storytelling, care instructions and codes that do not belong permanently on the product. If your range needs scannable identifiers, provide definitive barcode master data early, including GTINs, unit of measure, and label placement rules 2. A clear barcode data file prevents late relabeling and mismatched identifiers. When hangtags are used, specify the punch, cord, pin, or fastener type, and whether the tag doubles as a warranty, QR link or campaign token.
Work with your compliance team to confirm any required buyer/importer market markings related to product identification, age grading, warnings, or origin labeling 3. Do not assume these elements apply the same way across markets or categories. If you choose to include environmental or material claims (e.g., recycled content) on packaging or hangtags, align them with substantiation standards and your internal approvals; avoid placing such claims on the product unless you have a controlled evidence plan that supports the exact wording. For guidance on marketing claims, many buyers refer to frameworks such as the U.S. FTC Green Guides to help structure substantiation and avoid overstating benefits 4.
Finally, align pack design with the chosen pet product logo application. Clear windows or open-face packs can rub printed logos; polybag frosting can transfer to soft-touch finishes; nested bowls can scuff embossed marks. The packaging decision is part of logo protection as well as branding: specify pack-out that preserves what you approved in PPS.
Mid-article CTA — Send your artwork, substrate list and branding hierarchy, and we will map two viable application routes with sample gates, barcode needs and pack-out protection so you can approve quickly and buy with control.
Module 7 — Lock production controls, checkpoints and records
Write a simple control plan that lists the few things that keep your logo consistent: 1) input check (artwork version, inks/threads/badges received), 2) setup check (first-article sign-off with placement jig), 3) in-process checks (color and alignment frequency), and 4) final inspection check (comparison to golden sample set). Make these tangible: for example, “Verify logo centerline distance to rim = 8 mm ±0.5 mm, every hour,” and “Confirm Pantone match to approved drawdown under D65 light.” If the process uses fixtures, give each fixture an ID and capture it in the PPS photo log.
It helps to distinguish factory management systems from SKU-level conformity. A facility may follow a quality management system like ISO 9001:2015, which addresses how the organization manages consistency, documentation and continual improvement; that does not by itself prove your SKU’s logo color, size or placement meets your specific standard 1. Your SKU-level conformity comes from your specifications, approved samples, and executed control plan. Keep that distinction clear in your purchase orders and inspection criteria.
Recordkeeping is your ally in reorders. Require the supplier to store the golden sample set and a digital dossier: approved artwork files, color references, PPS photos with measurement overlays, first-article and final inspection reports, and the exact material/ink/thread codes used. If you switch factories, this dossier lets a new partner replicate what matters without guessing.
Module 8 — Structure quotes, tooling and cost decisions
Ask for a quote structure that isolates one-time and per-unit costs and ties them to your chosen methods. Break out artwork setup, plates/screens/plates fees, molds or die costs (if emboss/deboss), per-unit application costs by color count or pass, and any special materials (badges, labels, threads). Request conditional pricing for two or three method scenarios if you are still deciding. Do not assume a fixed MOQ or set price until the factory confirms the exact method, art size, colors and substrate finish; these variables drive tooling and per-unit time.
Use a standard variables table with your supplier to remove ambiguity in quotation and PO stages:
| Variable | Buyer decision | Supplier input | Evidence to attach | Where recorded |
|---|---|---|---|---|
| Method | Choose primary + backup | Capabilities per substrate | Method-on-substrate coupon | RFQ + PO |
| Art size/placement | Fix X/Y and tolerances | Jig design suggestion | Annotated drawing | Art pack |
| Colors/threads | Pantone/thread codes | Ink brand/codes | Drawdowns/swatches | Color file |
| Tooling | Approve/hold | Cost and lead-time | Tool drawing | Quote |
| Unit cost | Approve brackets | Cycle time/pass count | Cost breakdown | Quote/PO |
| Lead time | Align to launch | Capacity window | Production plan | PO |
| Inspection | Define AQL + checkpoints | Reporting format | Checklist | QC plan |
If a method requires tooling changes (e.g., adding an emboss cavity to an injection mold), confirm whether you will amortize or pay one-time, who owns the tool, where it is stored, and how change requests will be costed. For applied elements like TPU badges or woven labels, confirm minimum order quantities at the badge/label vendor and whether badges are stocked or made per order, as this affects both cost and lead time. Ask the supplier to propose a fallback method if a late-stage constraint appears, and put that alternative into your quote notes.
Module 9 — Protect logos in transit packaging and shipment
Define how your approved logo survives the trip from factory to warehouse. The two main risks are rub/scuff and compression, especially when units nest or stack. If you use printed marks on glossy plastics or soft-touch finishes, require non-abrasive interleaves; for embossed/debossed marks that contact each other, require orientation or separators. For stitched badges or labels, protect stitch areas from snagging. Where applicable, align pack-out and carton tests with recognized shipment test procedures to validate that packaging protects the product through the distribution environment 5.
Turn logo protection into simple pack-out rules. Here is a compact control table you can insert into your packaging spec:
| Pack-out element | Control | Why it matters | Evidence |
|---|---|---|---|
| Primary protection | Tissue/polybag with anti-scuff placement | Prevents rub on printed marks | Photo of packed unit |
| Interleave | Paper/foam between nested units | Avoids logo-to-logo contact | Photo + note |
| Orientation | Handle/mark up orientation in inner pack | Keeps embossed areas off contact points | Diagram |
| Carton fit | Adequate headspace + restraints | Reduces movement | Carton spec |
| Labeling | Outer “Do not knife” and orientation marks | Avoids knife cuts across logo zone | Carton artwork |
| Test | Follow chosen ISTA series where required | Validates transport protection | Test plan 5 |
If you plan to ship e-commerce-ready units, consider how dunnage interacts with the logo inside the shipper. A snug fit can abrade a printed mark through a window or open face; a loose fit can allow product migration. Align these decisions with your inspection criteria so the final check validates logo condition as part of carton acceptance.
Module 10 — Control reorders, color drift and change management
Treat reorder consistency as a separate decision from first production. Open a change log before you place the first PO, then keep it live. Record every adjustment to art, colors, placement, packaging, or supplier sources. Require lot traceability for inks, threads, badges, and any color-critical materials. For textiles, manage dye lots; for molded parts, manage masterbatch lots; for printed logos, keep approved drawdowns and in-line color checks tied to the golden sample set.
Make ownership and decision points explicit. This table helps teams avoid ambiguity about who decides and who documents:
| Decision | Owner | Trigger | Record |
|---|---|---|---|
| Color tweak within tolerance | Buyer brand team | Visual drift vs drawdown | Approval note |
| Method change (e.g., print to badge) | Buyer procurement + supplier | Substrate change or failure in PPS | Revised quote + PPS |
| Tooling update (emboss cavity) | Buyer tooling owner | New art or defect correction | Tool drawing rev |
| Packaging adjustment for protection | Buyer packaging + supplier | Transit scuff report | Pack-out rev |
| Factory switch | Buyer sourcing | Capacity/price/risk | Full dossier transfer |
Do not rely solely on memory or emails; require each change to be reflected in an updated artwork pack and QC checklist. For long-running SKUs, schedule a periodic color audit against the golden sample. If the golden sample ages or fades, refresh the standard through a controlled re-approval. When supplier-side materials are discontinued, run comparative samples to confirm equivalency before authorizing substitution.
Module 11 — Confirm handover terms, inspections and acceptance
Close the loop with clear handover and acceptance terms in your purchase order. Define when and where risk transfers using recognized trade terms, and link them to your inspection plan and acceptance criteria 6. For example, if you select an Incoterms 2020 rule where risk transfers at the port, make sure your final inspection and acceptance decision occurs before that handover point, with enough time for any rework. Align documentation deliverables with acceptance: artwork version IDs, drawdowns, PPS sign-off, inspection reports, and photos showing pack-out protection in place.
Plan a pre-shipment inspection that checks the logo against the golden sample and your key tolerances. If your acceptance requires buyer-side sign-off, specify timing and response windows so shipments are not delayed by unclear communications. Include the process for addressing nonconformities: rework, concessions with price adjustments, or re-production. If partial shipments are allowed under your trade terms, state how mixed lots will be labeled and controlled so the receiving warehouse can identify them clearly on arrival.
Finally, align handover documents with your market entry plan. If an item’s packaging contains product identification, barcodes, or claims relevant to your market, verify that the final printed packaging matches the approved files and master data, and that this is reflected in your acceptance decision. Keep transit pack photos and pallet diagrams on file so reorders ship the same way unless you authorize a change. Simple, clear acceptance criteria and agreed handover points reduce disputes and keep your branding consistent through the logistics chain 6.
Frequently asked questions
Q: What is the quickest way to decide between print and emboss for a plastic pet bowl? A: Start with your brand objective and expected handling. If you want prominent color and flexibility for seasonal art, pilot pad or screen print on the actual finish and check rub resistance. If you want a permanent, subtle mark and accept tooling involvement, pilot an emboss cavity on a test part. Approve whichever method meets your visibility and handling checks with fewer variables to control in bulk.
Q: How do I avoid barcode rework when adding hangtags? A: Provide definitive barcode master data early, including GTINs and any inner/outer packaging identifiers, and confirm the label size, quiet zones and placement in your artwork pack 2. Ask your supplier to share a print proof of the hangtag or packaging with live barcodes before PPS, and verify scannability in-house or through your standard process.
Q: What if our marketing team wants to add an environmental claim on the hangtag mid-project? A: Route the claim through your internal substantiation process and confirm buyer/importer market requirements for the target countries before approving any packaging edits 3. Ensure the wording aligns with your evidence base and internal guidance on marketing claims; many buyers use references like the U.S. FTC Green Guides for structuring claim language and substantiation 4. Do not place claims on the product unless you have aligned evidence and acceptance criteria.
Q: How can I keep color consistent across textile beds and molded plastic toys? A: Manage each material stream separately with its own color standards (thread codes, lab dips, masterbatch codes, print drawdowns) and keep a cross-material visual standard tied to your golden sample. Require lot traceability for dyes and masterbatch, and perform periodic audits against the standard. If you must match across substrates, define which material’s appearance is the “anchor” and allow controlled tolerances for the others.
Q: Do I need a certified factory to get consistent logo quality? A: A factory’s management system can support consistency, but SKU-level conformity depends on your specifications, approved samples and execution controls 1. Choose suppliers who can follow your control plan, document materials and settings, and maintain a golden sample library—then verify through sampling and inspection.
Q: How do I protect printed logos during shipment? A: Specify pack-out elements that separate logo surfaces and reduce movement—interleaves, orientation, and restraints—and, where appropriate, validate the packaging through recognized transit test procedures to match your distribution profile 5. Add these rules to your packaging spec and final inspection checklist.
Conclusion
Choosing the right pet product logo application is a sequence of buyer-led decisions that move from brand intent to substrate fit, artwork control, sample gates, packaging, production checks and reorder governance. Define roles and tolerances upfront, verify method-to-material fit with real samples, protect the mark in pack-out, and lock it all into quotes and records so reorders hold the line. This approach keeps your branding consistent without overcomplicating production.
Final CTA — Ready to brief your logo application across a pet range? Share your artwork, substrates and target markets, and we’ll help you structure options, samples and controls you can own from RFQ to reorder. Email: info@PawViso.com WhatsApp: +86 186 8106 4480 — https://wa.me/8618681064480 Send a short note with your branding aim, two target methods, and your next launch date—we will respond with a checklist and next-step plan.
Disclaimer: The guidance above summarizes common factory and procurement practices. Requirements, markings, claims, tests and acceptances require project-specific buyer/importer confirmation and approval before production or shipment.
Related PawViso resources
- Continue with How to Build a Private Label Pet Product Line. Use this guide to connect customization, packaging and MOQ decisions.
- Browse the PawViso product catalogue to identify product formats for a sourcing brief.
- Follow the PawViso sourcing process and review the B2B buyer FAQ before sharing project requirements.
External reference
For independent product identification and barcode context, review GS1 guidance on Global Trade Item Numbers (GTINs). Confirm the requirements that apply to the selected product, target market and order.